
Resistance bands are incredibly versatile tools for strength training, mobility work, and rehabilitation. Their portability and effectiveness have made them a staple in home gyms, physical therapy offices, and fitness studios around the world. But while they're easy to use, not everyone knows how to properly tie a resistance band for different workout setups. Tying your band the wrong way can lead to safety issues, compromised form, or ineffective exercises.
In this guide, we'll explore everything you need to know about how to tie a resistance band—safely, securely, and creatively—to enhance your workouts.
Why Tying a Resistance Band Matters
Tying a resistance band can help you:
- Adjust the band's length for specific exercises
- Create loops for anchoring
- Increase resistance or stability
- Customize your workouts when an anchor point isn't available
- Combine multiple bands together
However, it's essential to tie them properly. Incorrect knots can slip, undo under tension, or damage your band. Safety and longevity should always be priorities.
Understanding Different Types of Resistance Bands
Before learning how to tie a band, it's crucial to understand the different types of resistance bands, as the technique you use may vary:
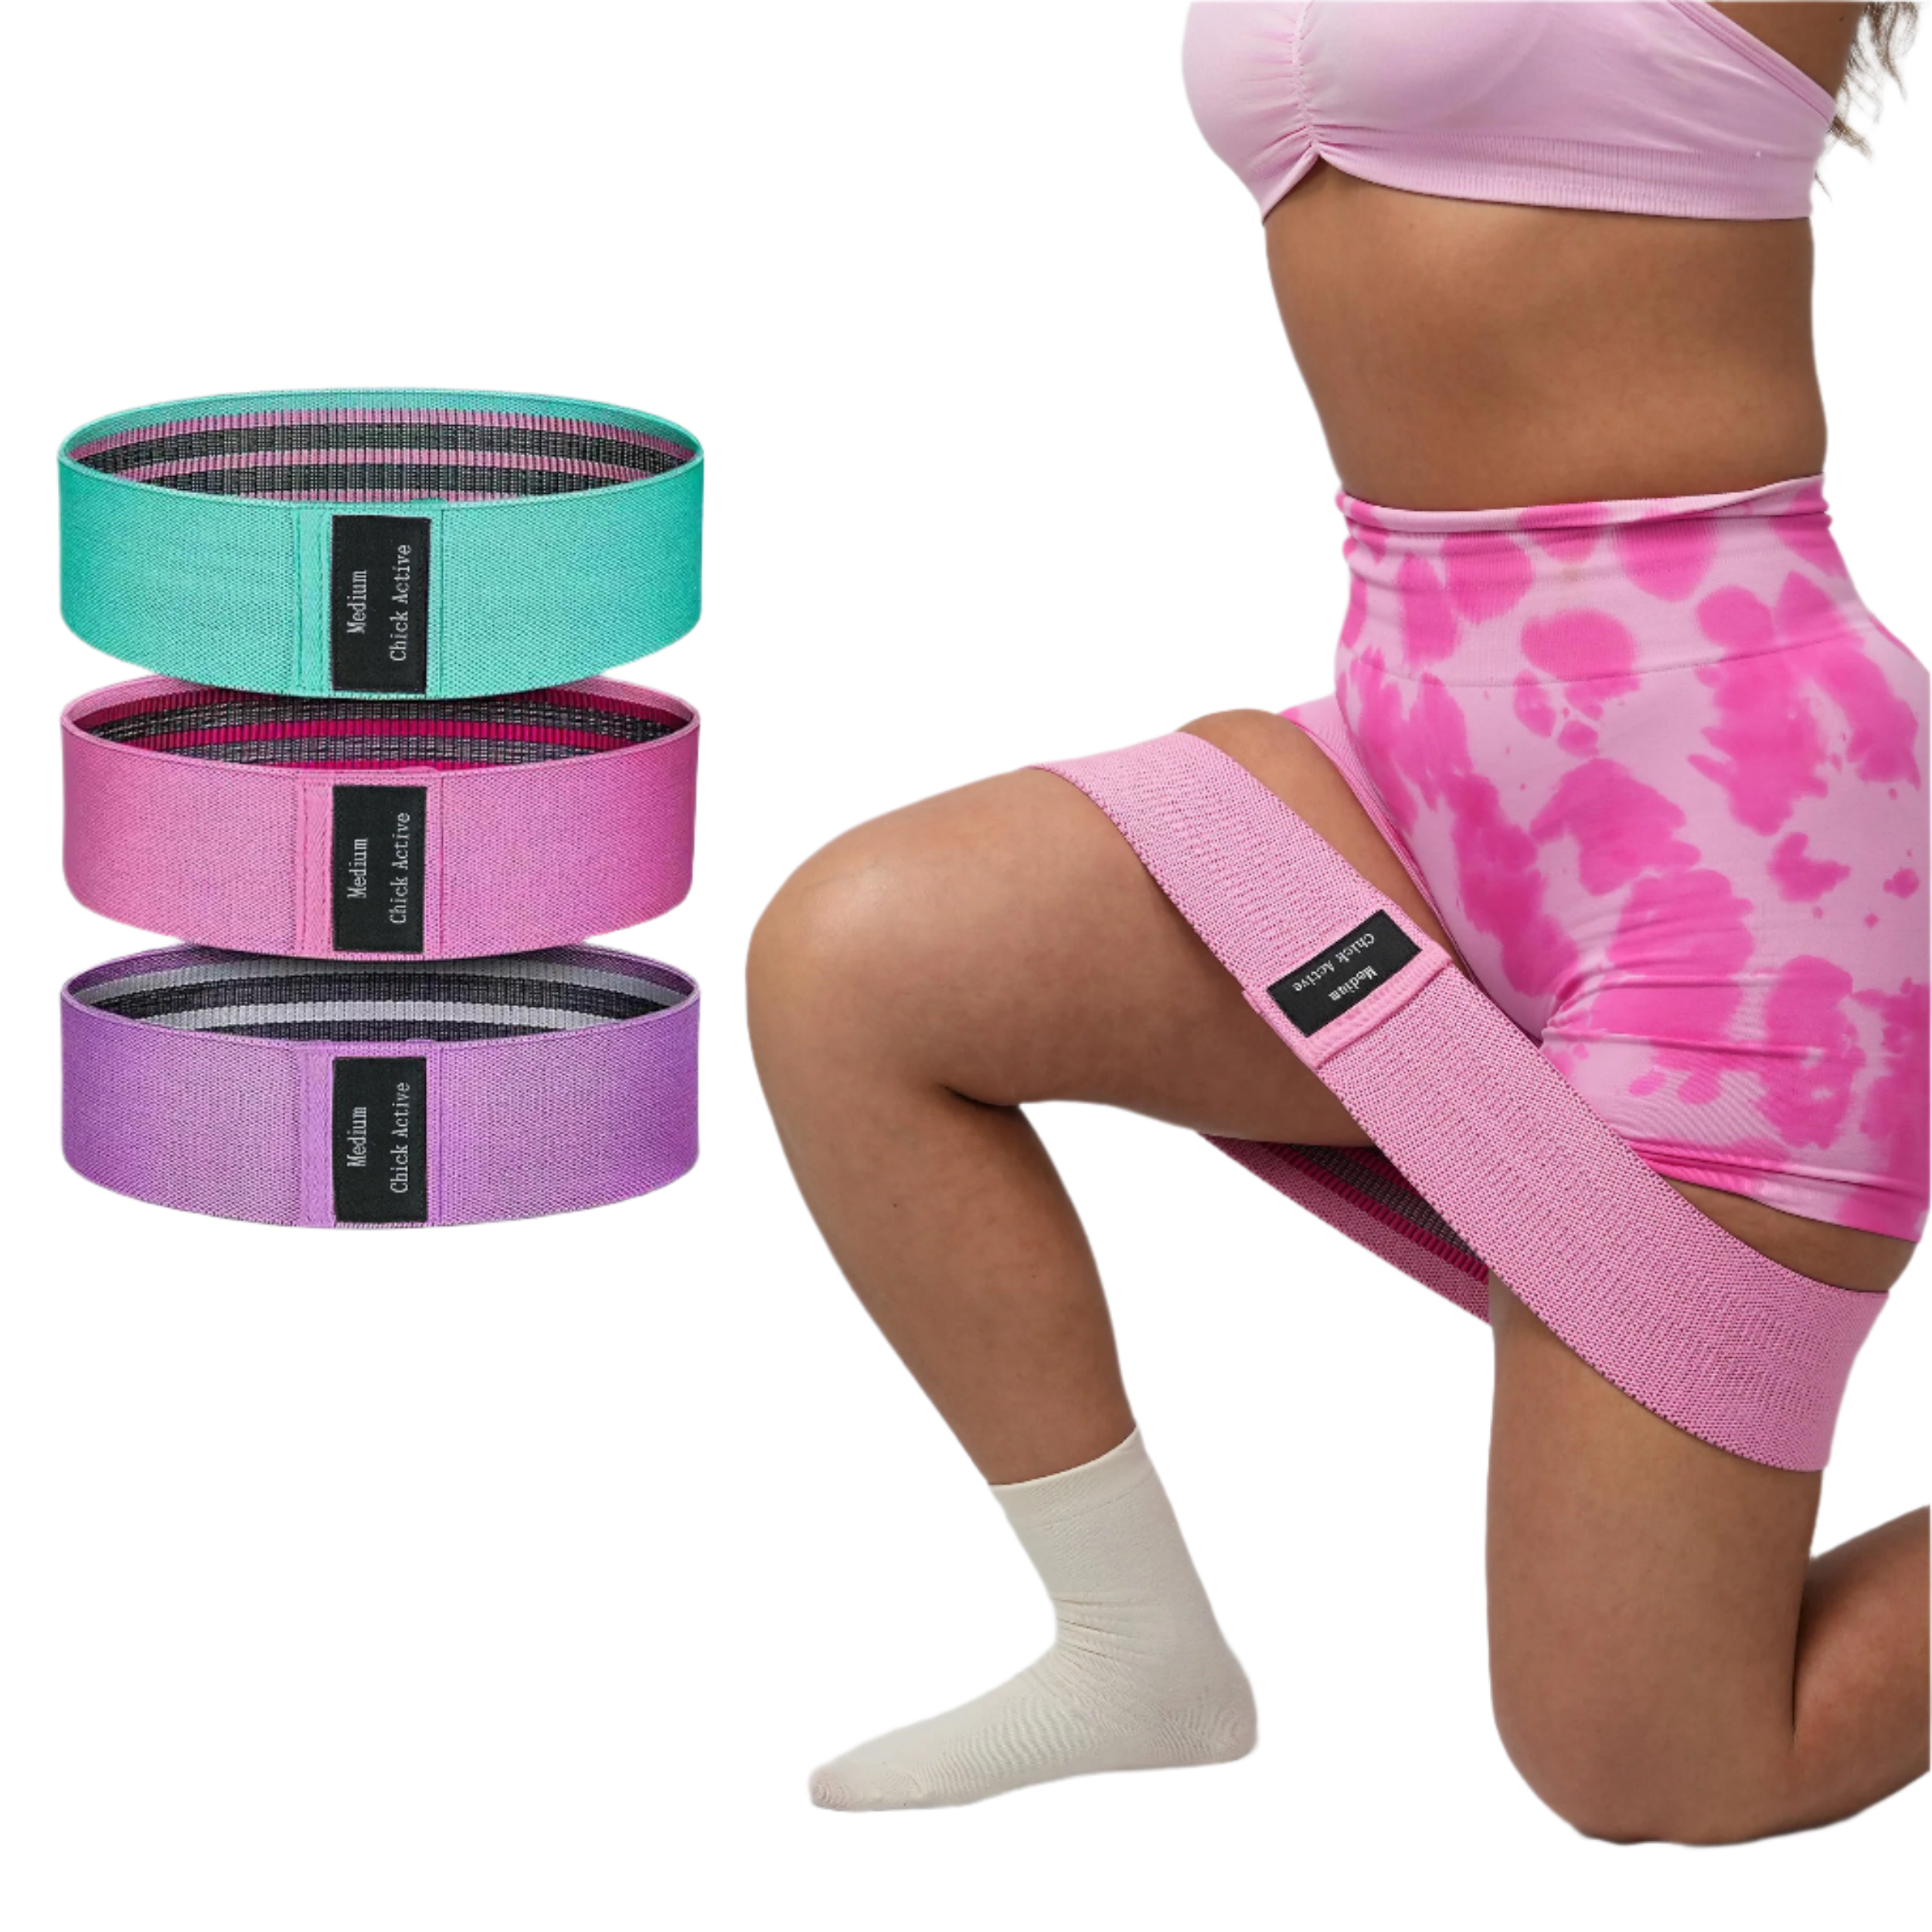
Loop Bands
These are continuous bands shaped like giant rubber bands, commonly used for lower-body work like squats, glute bridges, and lateral walks.
Flat Therapy Bands
These long, thin, flat bands are commonly used for physical therapy and stretching. They're highly versatile but often require tying to form loops or anchor points.
Tube Bands with Handles
Tube bands usually come with built-in handles and are not typically tied, but knowing how to secure them around objects can still be useful.
Figure-8 Bands
These bands are pre-tied into a figure-eight shape and are typically used for arm or shoulder exercises. They don't require knotting but understanding tension and anchoring is still key.
Safety Tips Before Tying Your Band
Tying resistance bands involves adding extra stress to the material, so always follow these precautions:
- Inspect Your Band: Look for any tears, thinning spots, or discoloration that might indicate the band is wearing out.
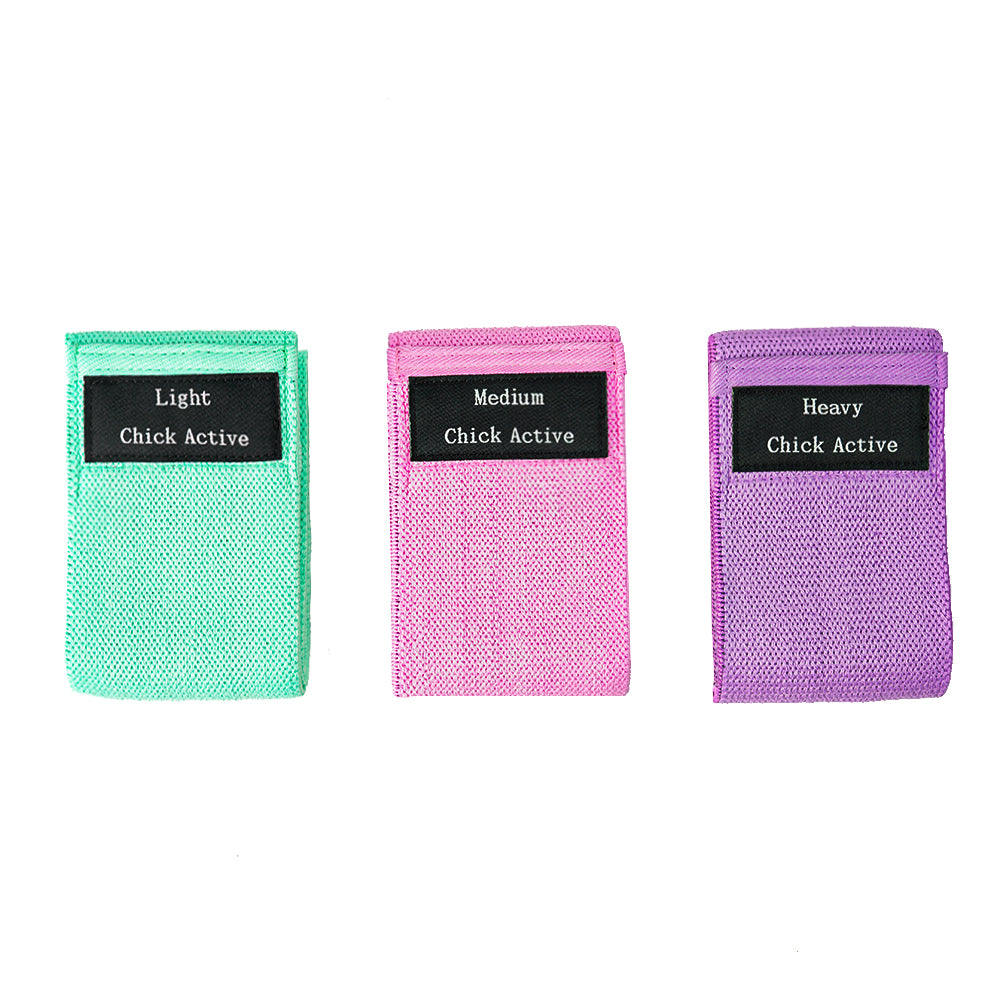
- Choose the Right Thickness: Thicker bands provide more resistance and may be harder to tie securely.
- Avoid Sharp Edges: Don't tie bands around rough or sharp surfaces which could cut into the material.
- Test Your Knot: After tying, pull on the band gently to ensure the knot holds under tension.
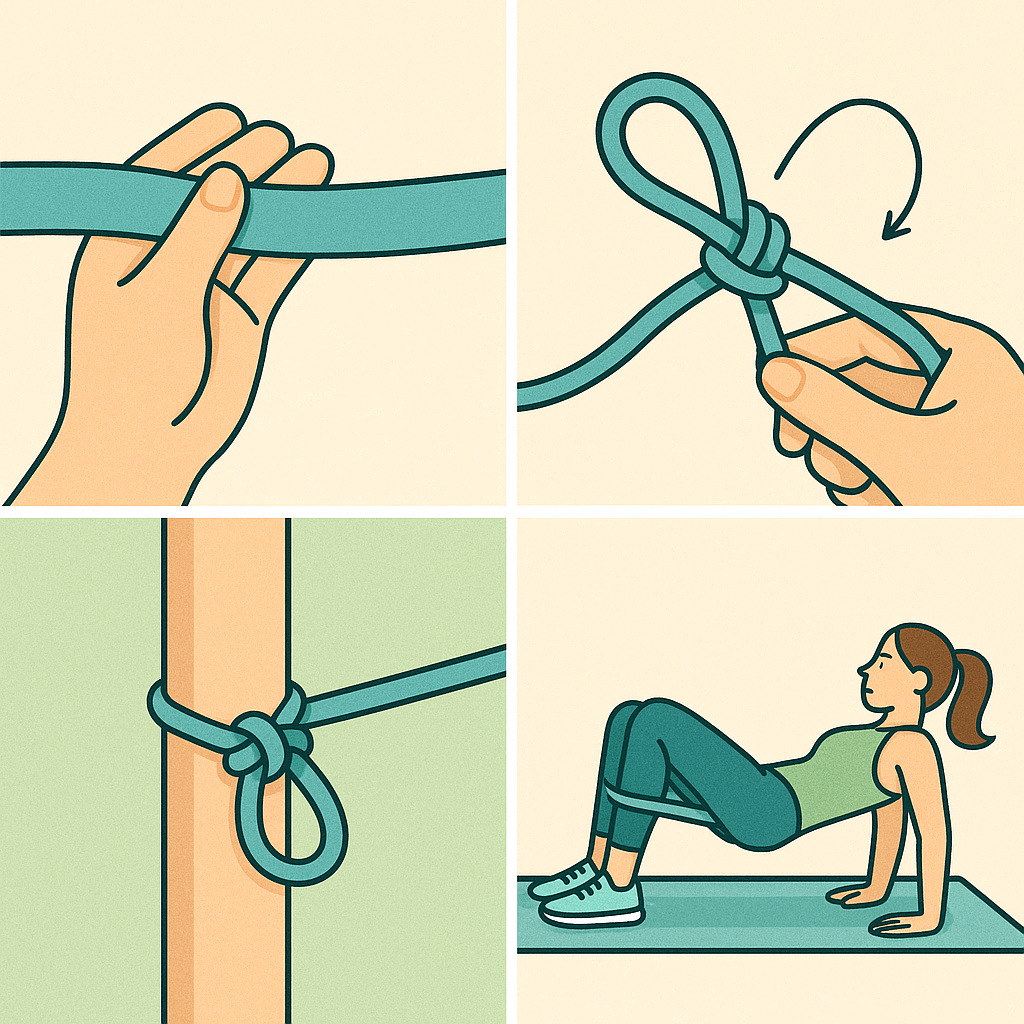
How to Tie Resistance Bands: 3 Key Knots
The Overhand Knot
The overhand knot is the most basic and commonly used knot.
How to Tie:- Fold the band in half to create a loop.
- Pass one end over the other and pull through, creating a knot.
- Tighten it by pulling both ends.
- Shortening a therapy band
- Creating a small loop for handholds or anchoring
Tip: Make sure the knot is tight, and avoid repeated tying/untying in the same spot as it may weaken the band.
The Loop Knot (Anchoring Knot)
Used to create a secure anchor point around an object like a doorknob or pole.
How to Tie:- Wrap the band around the anchor object.
- Feed one end through the other, creating a cinched loop.
- Pull tight to secure.
- Doorframe anchoring
- Wrapping around railings, posts, or heavy furniture
Pro Tip: Use a towel or cloth between the band and the anchor object if needed to reduce friction or avoid damage.
The Double Knot
For extra tension or when performing high-resistance exercises, a single knot may not hold.
How to Tie:- Start with an overhand knot.
- Make a second overhand knot in the same place.
- Pull tight and test for slippage.
- Combining two bands
- Exercises involving fast or explosive movement
Warning: Double knots are harder to untie and may permanently crease the band over time.
How to Tie a Resistance Band Around Common Objects
Around a Door
A closed door can be an excellent anchor point.
Steps:
- Use a door anchor if available (a small foam cylinder that fits on the other side of the door).
- If no anchor, use the loop knot method and tie the band at the top, side, or bottom of the door.
- Ensure the door is fully closed and locked before applying tension.
Great For:
- Rows, presses, pulldowns
Around a Pole or Beam
Perfect for outdoor workouts or gym settings.
Steps:
- Wrap the band around the pole.
- Tie a loop knot or simply feed one end through the other.
- Ensure the knot doesn't slide along the surface.
Great For:
- Face pulls, curls, standing rows
Around Legs or Feet
Some exercises require tying the band directly around your body.
Tips:
- Tie a soft overhand loop around thighs or calves (never too tight to cut circulation).
- For feet, make sure the knot is secure and doesn't interfere with foot movement.
Great For:
- Glute kickbacks, clamshells, monster walks
Creative Uses for Tied Resistance Bands
- DIY Loop Band: Tie the ends of a flat band together to create a closed loop.
- Partner Exercises: Tie one end to a partner's band for resistance training that involves cooperation.
- Multiple Band Resistance: Tie two or more bands together for extra challenge.
- Adjustable Handles: Knot the ends to form hand grips if no handles are available.
When Not to Tie a Resistance Band
- If the band is thin and worn—tying could cause snapping.
- When clips or adjustable handles are better suited.
- If you need frequent adjustments—consider using carabiner clips instead.
- For high-velocity movements where knots may loosen.
How to Maintain Tied Resistance Bands
- Untie Carefully: After workouts, slowly loosen knots to avoid tearing the band.
- Avoid Leaving Tied for Long Periods: This can cause creases and material fatigue.
- Clean Regularly: Use mild soap and water to keep bands free from sweat and grime.
- Store Properly: Lay flat or hang in a cool, dry place away from direct sunlight.
FAQs About Tying Resistance Bands
Q1: Can I tie two different resistance bands together?
Yes, but be cautious about mismatched tension. Double knot for safety.
Q2: What knot is safest for anchoring around furniture?
A loop knot or overhand loop is best. Ensure the surface is stable.
Q3: Will tying a band damage it?
Not if done correctly and not excessively. Avoid over-tightening or knotting in the same spot repeatedly.
Q4: How do I untie a stuck knot?
Massage the knot to loosen it. If necessary, use a dab of water or soap to reduce friction.
Conclusion
Knowing how to tie a resistance band can dramatically increase the versatility of your workouts. From anchoring to customizing tension, a few simple knots can open up an entirely new range of movement possibilities. Whether you're in a gym, at home, or outside, the ability to tie your resistance band correctly means safer, more effective, and more creative workouts.
Try out different knots and setups to find what works best for you—and always keep safety in mind. With the right technique, a simple resistance band becomes one of the most adaptable tools in your fitness arsenal.

Leave a comment
All comments are moderated before being published.
This site is protected by hCaptcha and the hCaptcha Privacy Policy and Terms of Service apply.