
Table of Contents
- Why Regular Checks Are Important
- How Often Should You Check Your Resistance Bands?
- What to Look for When Inspecting
- When Should You Replace Your Resistance Bands?
- How to Extend the Lifespan of Your Resistance Bands
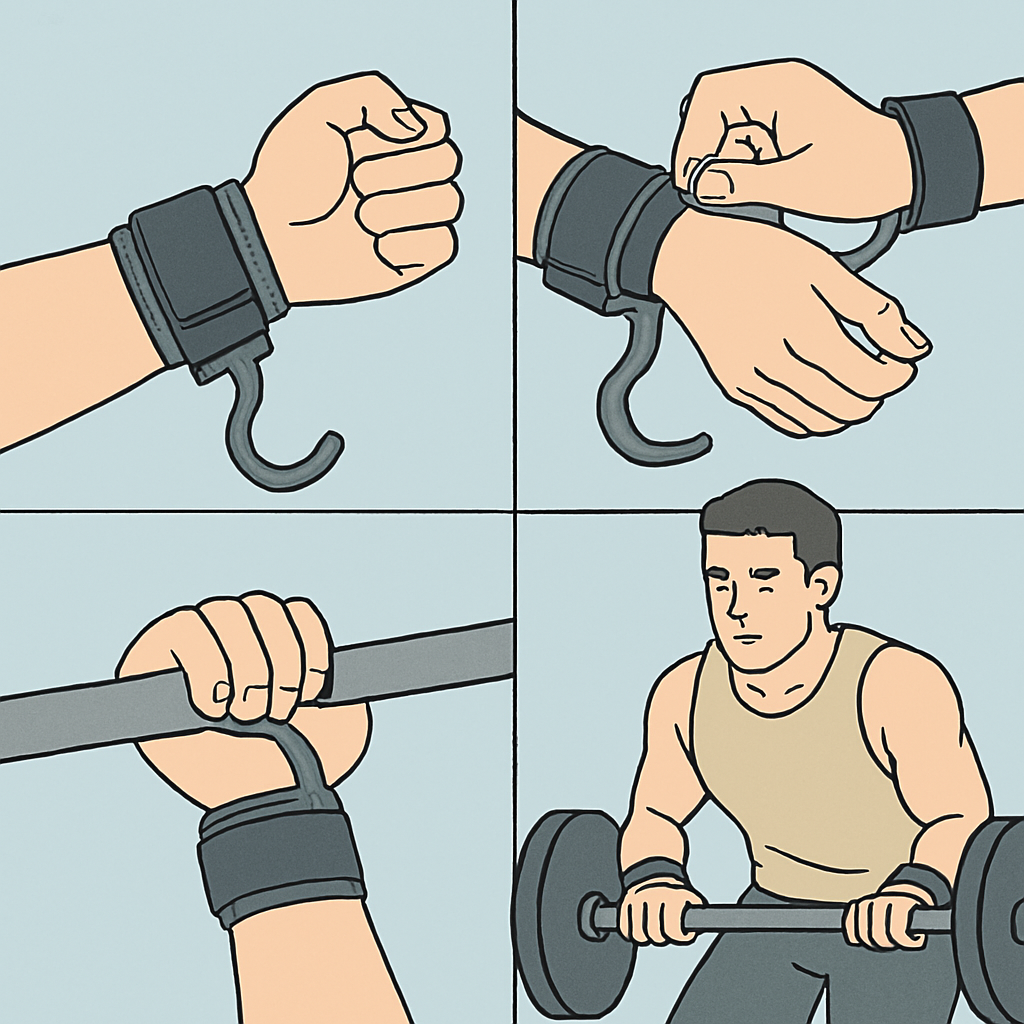
- Bonus Tip: Match the Right Band to the Right Exercise
- Conclusion: Safety First, Performance Always
In recent years, elastic resistance bands have become a staple in home and professional fitness routines. They are lightweight, portable, and incredibly versatile, making them ideal for everything from strength training and rehabilitation to flexibility and mobility exercises. But with regular use comes wear and tear, and that begs an important question: how often should you check your resistance bands?
As a fitness equipment seller, we care deeply about your safety and performance. This guide will help you understand why inspecting your resistance bands is essential, how frequently to do it, and what signs of damage to watch out for. Plus, we'll offer tips to extend the life of your bands and get the best value from your investment.
Why Regular Checks Are Important
Just like any other piece of workout equipment, resistance bands degrade over time. Made from elastic materials like latex or synthetic rubber, they are subject to constant stretching, friction, and exposure to environmental elements. These factors can weaken the material, leading to small tears or even sudden breakage.
Unlike dumbbells or machines, resistance bands provide tension through elasticity. When this elasticity becomes compromised, not only is your workout less effective, but your risk of injury increases significantly. A band that snaps mid-exercise can cause bruises, cuts, or worse.
That's why regular inspections are non-negotiable. By catching early signs of wear, you can prevent injuries and ensure your resistance bands remain reliable and effective.
How Often Should You Check Your Resistance Bands?
There isn't a universal rule, but here are some practical guidelines based on usage:
Before Every Use (Quick Check)
Take 30 seconds to visually inspect your bands before each session. Look for surface cracks, tears, or any irregularities in tension. Give it a gentle stretch to make sure it feels consistent and smooth.
Monthly Deep Inspection (Thorough Check)
Set a reminder to do a detailed inspection at least once a month. Lay the band flat and examine it section by section under good lighting. Look for discoloration, thinning, brittleness, or soft spots.
High-Use Scenarios
If you're a personal trainer, gym owner, or just someone who uses resistance bands daily, perform a thorough check weekly. Frequent use accelerates wear and tear.
After Outdoor Use
Exposure to sunlight, dirt, and rough surfaces can break down the material faster. Always inspect after outdoor sessions.
Annually for Aging Bands
If your band is over a year old, be extra cautious. Even if it looks fine, the material could have weakened with time, especially if it wasn't stored properly.
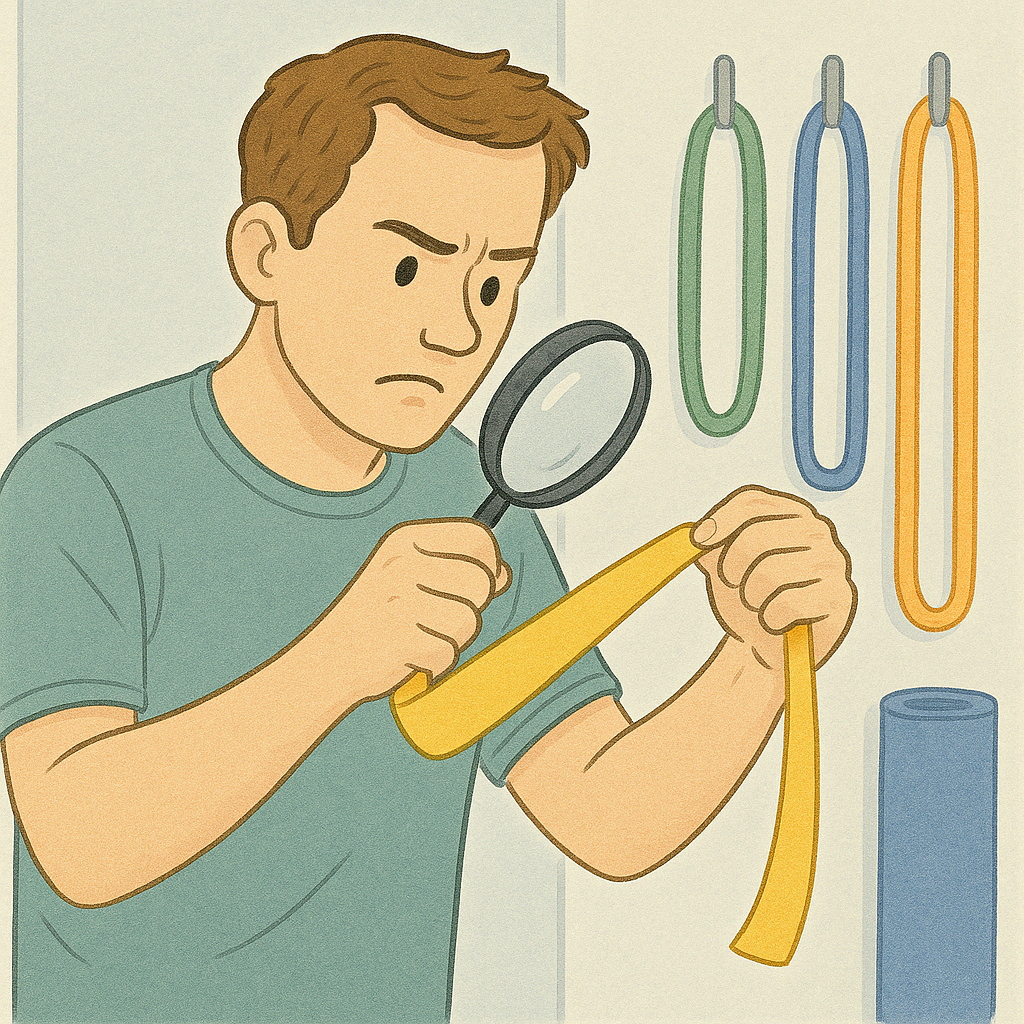
What to Look for When Inspecting
When inspecting your resistance bands, keep an eye out for the following warning signs:
- Cracks or splits: Often found near the ends or handles, small cracks are the first sign that the band is weakening.
- Discoloration: Changes in color can indicate exposure to sunlight or chemical degradation.
- Sticky or tacky feel: This suggests the rubber is breaking down.
- Uneven resistance: If part of the band feels thinner or stretches more easily than the rest, it's time to replace it.
- Frayed handles or loops: Especially on bands with attachments, weak points can appear around clips and handles.
Use your hands and eyes—run your fingers along the entire length, checking for anything unusual.
When Should You Replace Your Resistance Bands?
No band lasts forever. Here are signs that your band is due for replacement:
- Visible tears or holes
- Loss of elasticity: If the band no longer provides sufficient resistance
- Slippage or stretching: Excessive elongation with little recoil
- Loud snapping sounds during stretches (a sign it may be close to breaking)
- Frequent kinks or coils that don't straighten out
Don't take risks. If you're unsure about the condition of a band, it's safer to replace it than to risk injury.
How to Extend the Lifespan of Your Resistance Bands
Want to make your bands last longer? Here are our top care tips:
- Clean After Use: Wipe your bands with a damp cloth after each workout, especially if you sweat a lot. Sweat contains salts and oils that can degrade rubber.
- Avoid Sunlight and Heat: Store them in a cool, dry place away from direct sunlight. UV rays and heat can quickly weaken the elasticity.
- Use on Smooth Surfaces: Avoid using resistance bands on rough or abrasive surfaces like asphalt or concrete. These can cause tiny abrasions that worsen over time.
- Store Properly: Hang your bands or lay them flat in a drawer. Don't knot them or fold them tightly, as this can cause permanent creases and weak points.
- Don't Overstretch: Respect the recommended stretch limits. Most bands should not be stretched more than 2.5 times their original length.
- Rotate Your Bands: If you own multiple bands, rotate their use to distribute wear evenly.
Bonus Tip: Match the Right Band to the Right Exercise
Not all resistance bands are created equal. Using a light band for squats or a heavy band for arm curls not only reduces effectiveness but also increases the risk of overstretching and damage. Make sure you're using the appropriate band for each exercise.
Conclusion: Safety First, Performance Always
Resistance bands are an amazing addition to any fitness routine, offering countless exercise options in a compact package. But like any piece of gear, they need care and attention. By checking your bands regularly and following the maintenance tips above, you can keep your workouts both safe and effective.
As a seller committed to your fitness journey, we encourage you to inspect your resistance bands regularly. And if you're in need of high-quality, durable resistance bands that are built to last, check out our latest collection. Your safety is our priority, and your progress is our passion.
Stay strong, stay safe, and keep training smart!

Leave a comment
All comments are moderated before being published.
This site is protected by hCaptcha and the hCaptcha Privacy Policy and Terms of Service apply.