
Pull-ups are one of the most effective compound exercises for building upper body strength. They target multiple muscle groups—particularly the lats, biceps, shoulders, and core—making them a foundational movement in calisthenics, functional training, and strength programs. But let's face it: pull-ups are tough. For many beginners (and even some experienced lifters), performing even a single rep can feel like a monumental challenge.
That's where resistance bands come in.
Using resistance bands for pull-ups is an excellent way to build the strength and technique needed to perform unassisted reps over time. In this article, we'll walk you through everything you need to know—from what kind of bands to use, how to use them properly, and how to progress until you can master bodyweight pull-ups on your own.
What Are Resistance Bands?
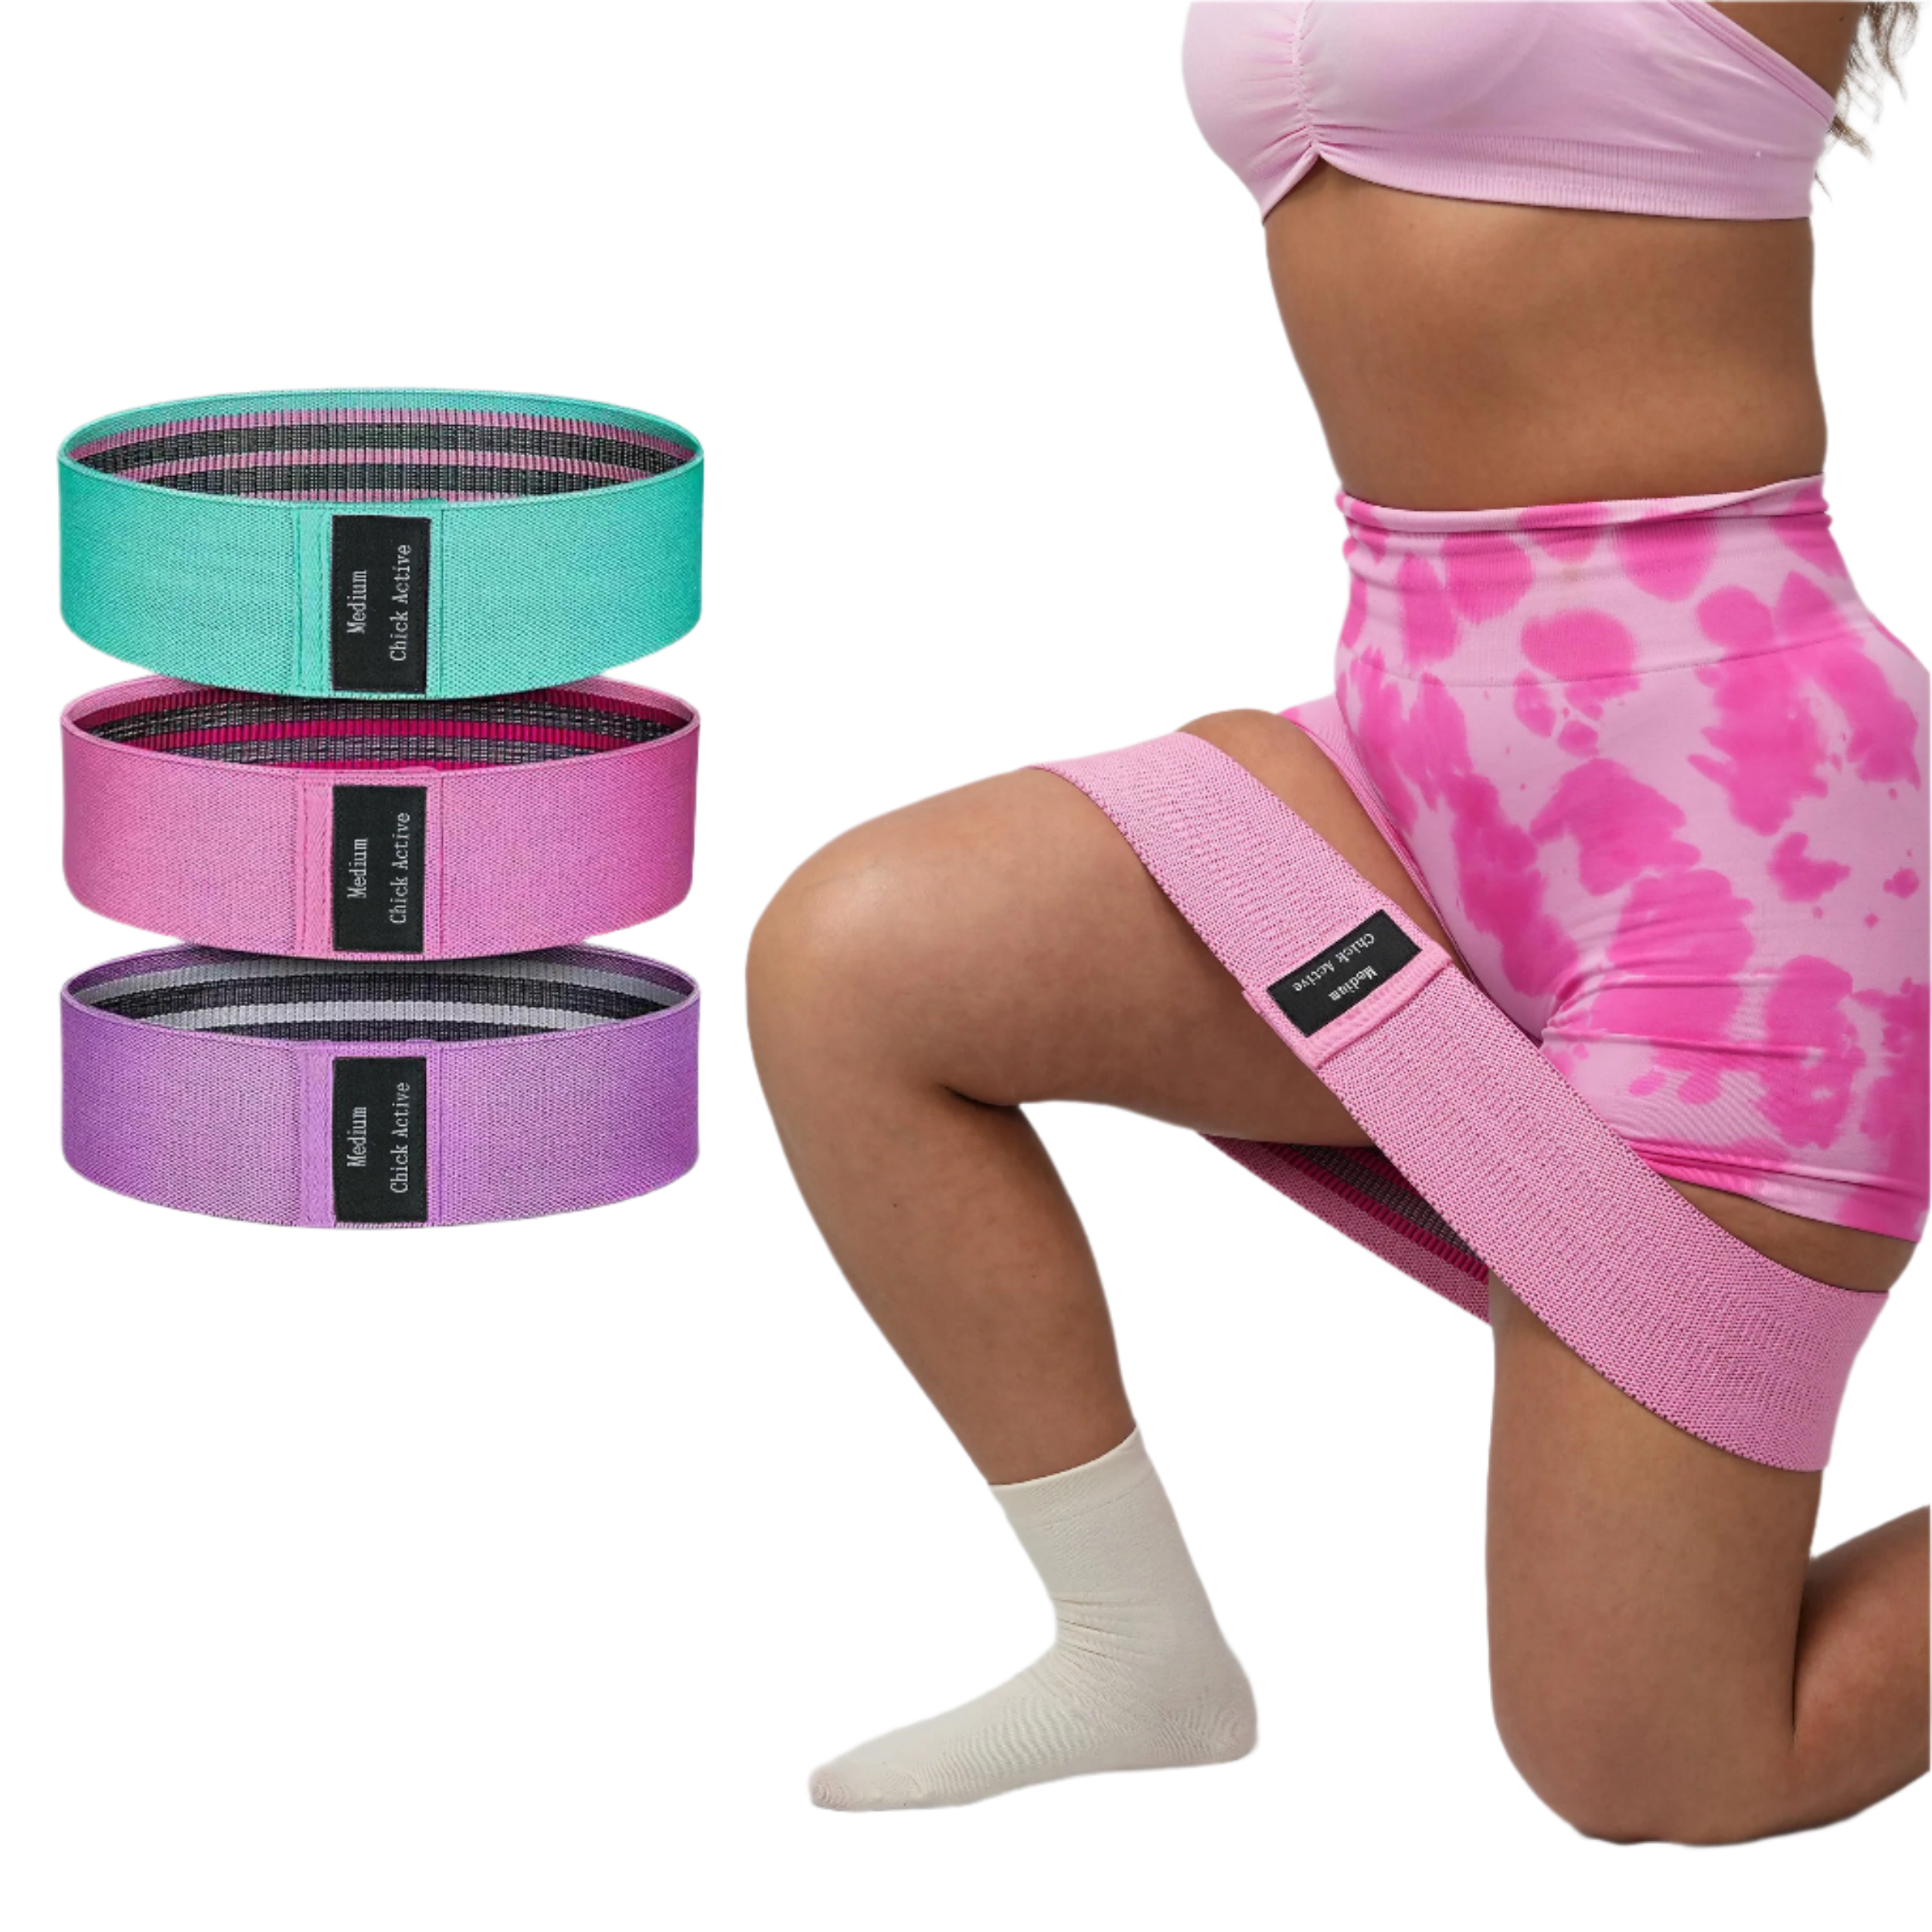
Resistance bands are elastic bands designed to add external resistance to various exercises. For pull-up training, the most commonly used types are long loop resistance bands, often made of natural latex or a polyester-latex blend. These bands vary in thickness, which correlates with their resistance level.
Here's a quick overview of types of bands used for pull-ups:
- Light Resistance (10–30 lbs): Best for advanced trainees needing minimal support.
- Medium Resistance (30–50 lbs): Ideal for intermediates building strength or perfecting form.
- Heavy Resistance (50–80+ lbs): Suitable for beginners or those struggling to complete a full pull-up.
Some fabric resistance bands (made of cloth and latex blends) are designed specifically with loop designs to offer consistent tension without rolling or snapping, making them more comfortable and safer to use.
Why Use Resistance Bands for Pull-Ups?
Using resistance bands can unlock access to pull-ups for nearly anyone, regardless of strength level. Here's how they help:
Assistance with Form
By reducing the amount of bodyweight you need to lift, resistance bands allow you to perform the full range of motion while maintaining proper technique.
Build Strength Gradually
Bands provide scalable assistance. You can start with heavy resistance and work your way down as you get stronger.
Enhance Muscle Activation
They help you execute more reps and increase time under tension, which promotes hypertrophy and muscle memory.
Lower Risk of Injury
Supporting part of your weight minimizes the strain on joints and tendons, especially for those new to the movement.
Affordable & Portable
Compared to assisted pull-up machines, resistance bands are cheaper, portable, and easy to use anywhere—a gym, home, or outdoor bar.
How to Use Resistance Bands for Pull-Ups: Step-by-Step Guide
Step 1: Choose the Right Band
Select a band that allows you to complete 6–10 reps with good form but still challenges your muscles. If unsure, start with a medium or heavy resistance band.
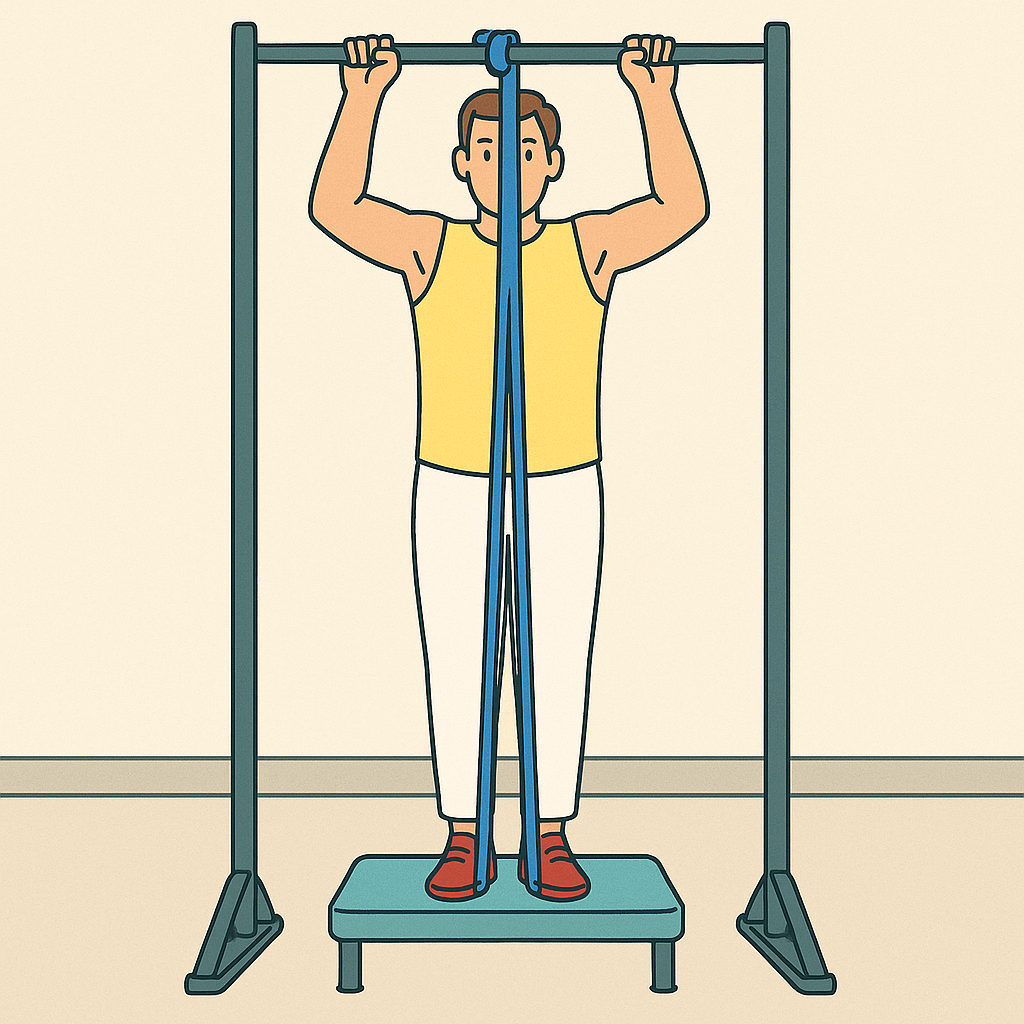
Step 2: Anchor the Band
Loop the band securely over your pull-up bar. Pull one end through the other to create a tight knot so it stays anchored during use.
Step 3: Position Your Body
There are two main methods to place your body into the band:
Foot Placement Method: Pull the band down, step one foot into the loop, then cross the other foot over it for stability. This method provides more assistance and is good for beginners.
Knee Placement Method: Pull the band down and insert one or both knees into the loop. This offers slightly less assistance and requires more control.
Step 4: Perform the Pull-Up
Grip the bar with your preferred hand position (overhand, underhand, or neutral). Engage your core, retract your shoulder blades, and pull your chin over the bar. Lower yourself in a controlled motion back to full arm extension.
Step 5: Exit Safely
Once finished, carefully step or slide out of the band. Always keep a firm grip on the bar when doing so to avoid springing up or losing balance.
Tips for Best Results
- Start with Proper Warm-Up: Loosen up your shoulders, back, and arms with dynamic stretches and light bodyweight movements before pull-ups.
- Control Every Rep: Avoid bouncing or using momentum. Controlled, full-range reps engage muscles better.
- Breathe Properly: Inhale on the way down, exhale as you pull yourself up.
- Use Progressions: Alternate grips (wide, narrow, underhand) to target different muscles and avoid plateaus.
- Track Your Progress: Gradually decrease resistance or increase reps week by week. Keep a log to monitor improvement.
Common Mistakes to Avoid
- Using Too Much or Too Little Resistance: If you're floating to the top or barely completing a rep, you're not using the right band. Adjust accordingly.
- Not Controlling the Eccentric (Lowering) Phase: This part is crucial for strength. Letting yourself drop quickly defeats the purpose of resistance-assisted reps.
- Allowing the Band to Shift: If the band isn't anchored properly, it can slip and cause injury.
- Inconsistent Technique: Focus on quality reps. Don't "cheat" by kicking or flailing—you're only shortchanging yourself.
When and How to Progress
As your strength improves, it's essential to reduce assistance gradually. Here's how you can tell you're ready to level up:
Signs You're Ready to Progress
- You can do 10–12 band-assisted pull-ups with ease.
- You're maintaining proper form throughout all reps.
- You feel less effort being exerted in the upward phase.
Progression Methods
- Use a Thinner Band: Shift to a band with less resistance.
- Switch to One-Knee Assist: Reduces the level of support compared to both feet or both knees.
- Add Isometrics and Negatives: Try holding at the top or lowering slowly to build strength.
- Include Unassisted Reps: Start your sets with as many bodyweight reps as possible, then finish with band assistance.
The goal is to eventually eliminate the band altogether, building the strength and control to perform multiple strict pull-ups.
Frequently Asked Questions (FAQ)
Q1: Which resistance band should I buy for pull-ups?
Look for a long loop band made of natural latex or a latex-blend. Choose based on your current strength level:
- Beginners: 50–80 lbs resistance
- Intermediate: 30–50 lbs
- Advanced: 10–30 lbs
Buy a set with multiple resistance levels if possible for future progression.
Q2: How often should I train pull-ups with a resistance band?
2–3 sessions per week is ideal, with at least one rest day in between. Combine with other pulling and back exercises for a complete routine.
Q3: Do resistance bands alter pull-up mechanics?
Not if used properly. They allow you to maintain correct form while reducing the weight load. Focus on technique and control rather than just getting your chin over the bar.
Q4: Are resistance bands safe for older adults or beginners?
Yes! Resistance bands are a great way for older individuals or those new to strength training to perform pull-ups safely. They reduce strain and offer scalable support.
Conclusion
Resistance bands can be a game-changing tool for anyone struggling with pull-ups or looking to improve their form and volume. They make this challenging exercise accessible, safer, and more productive—allowing you to build the necessary strength, confidence, and consistency to eventually conquer pull-ups unassisted.
By incorporating resistance band-assisted pull-ups into your workout, you'll not only improve your upper body strength but also develop better body awareness and muscular coordination. So don't let the pull-up bar intimidate you. Grab a band, get to work, and watch your progress climb—one rep at a time.

Leave a comment
All comments are moderated before being published.
This site is protected by hCaptcha and the hCaptcha Privacy Policy and Terms of Service apply.